Monday, April 7, 2014

Bangs: The Good, The Ugly, and The Greasy

Happy Monday Ladies! Have you been considering cutting off those long locks in front, but you're nervous that you will regret it? Well hopefully I can give you a little insight that may help sway you one way or the other. 

I finally decided to cut my bangs in the fall of 2012 after looking at numerous fabulous bang pictures on Pinterest. 

At times they were good.


And at other times...not so good.


Pictures like this, are why I am now growing them out.

So, let's talk about the good and the bad.
  • They most definitely give you a certain vibe/style to your look. I loved that about them!
  • Look great with big black framed glasses, even if they are fake.
  • They cover any fine or deep (ah hem) lines in your forehead.
  • Makes a top knot or messy bun look suddenly styled. 


  • If you have thin hair, they may just look too thin and be a little "gappy". This was a major part of my problem. I decided I either needed to grow them out or cut them deeper into my hairline.
  • Upkeep. They will grow quickly when you don't want them to, and when you're growing them out, they'll take decades! It's best to know how to cut them yourself.
  • Pictures. If you do have trouble keeping them styled just right. You will detest most pictures you see of yourself with them. This was the frustrating part for me. I didn't want to hate a picture with a  dear friend, because of my bangs.
  • Grease! Need I say more? I tend to have oily skin, so after a long day out, they looked awful! I do recommend this dry shampoo. Works well and easy on the pocket book.

  • You can't just get up and throw your hair in a pony tail. You will either need to re-wash your bangs in the kitchen sink or throw a hat on. They also look funky with headbands when working out, because you'll have "wings" hanging out the side of the headband.

Now this is all my opinion and every hair type is different. If I didn't have fine, thin hair, I think my story would end very differently. 
(So dramatic...it's just bangs.)

At this point, I'm pinning these bad boys up. I don't love the look, but I think they look a little funky down, because they're still pretty short.


Here's a great article on how to grow your bangs out. There are things you can do, other than what I'm doing. I should really take note!

If you have bangs, I'd love to know how you feel about them.
 Love 'em or hate 'em?

post signature

Wednesday, April 2, 2014

Put a Spring in your Step

I almost wrote a post yesterday, but I just thought it'd seem like some sort of April Fool's joke and all, so I thought I'd give myself another day. Okay, that's not in fact true. I just really didn't find the time, or rather was unmotivated. Because, I did indeed find time for a nap. It's all about priorities, folks!

I thought I'd share a little party I threw a week or so ago. Any of the ideas would be fun for a spring party or maybe a little Easter decorating. Carter and my niece's birthday are only 3 days apart. So, I did what any slacking mom would do, and checked to see if my sis-in-law wanted to join forces and throw a party together. Less work for both of us and only one time for the older folks to drive out of the "big city." 


We went for a spring inspired party, because we were so desperate for a little "spring" in our lives. 


I totally snagged the ribbon idea from this gal. And, now I see she went hog wild with her ribbons. I hardly had the patience for what I did do.


Can I just say, I love Dollar Tree. You can find the best stuff there. Got these little pots and the "nest material" there. And those eggs, I can never buy those again! I will eat, not just one big bag, but possibly two!

This is not crooked. It is only a mirage.
Flowers were an easy no brainer addition.

 
Artwork: Katie Daisy
This party was so fun for me, because it was definitely on the girly side. I'm usually dealing with super heroes and all things boy, so this was a special treat. But for good measure, I threw in some worms for the newly turned 5 year old.


The birthday kiddos. They were so fun to celebrate! So much personality in such little bodies, especially the little red-head, she's a hoot!


Saw these packets at Walmart and new I had to do something with them. Now I'm determined to actually grow some wildflowers this year. 


We used mason jars and paper straws for our beverages.


My lovely sis-in-law graciously made the cupcakes and even water colored the flowers on top of them! We had fun planning this party together, as minimal as it seemed. 

So, if you're wanting to throw a spring themed party, hit up dollar tree, grab some flowers, and don't buy the eggs. Unless they're plastic. Those you won't eat. 

post signature

Monday, March 3, 2014

Monthly Productivity Post - February

Well I'll say I started out the year with a bang. Lots of motivation and lots of work going on. Then February hit, and I don't know, I just lost my steam I suppose. Or maybe I should blame it on the short month. I mean really I had less days to get work done. 

Let's not even talk about my lack of blogging...maybe I was a tad bit ambitious when I started this ole blog. Or maybe I'm a tad bit unorganized with my time. Either way, it was a short month.

So, let's just see what I was up to this past month.


Selling vintage is probably my favorite part of my job. Not a strenuous job by any means...maybe that's why I like it so much.


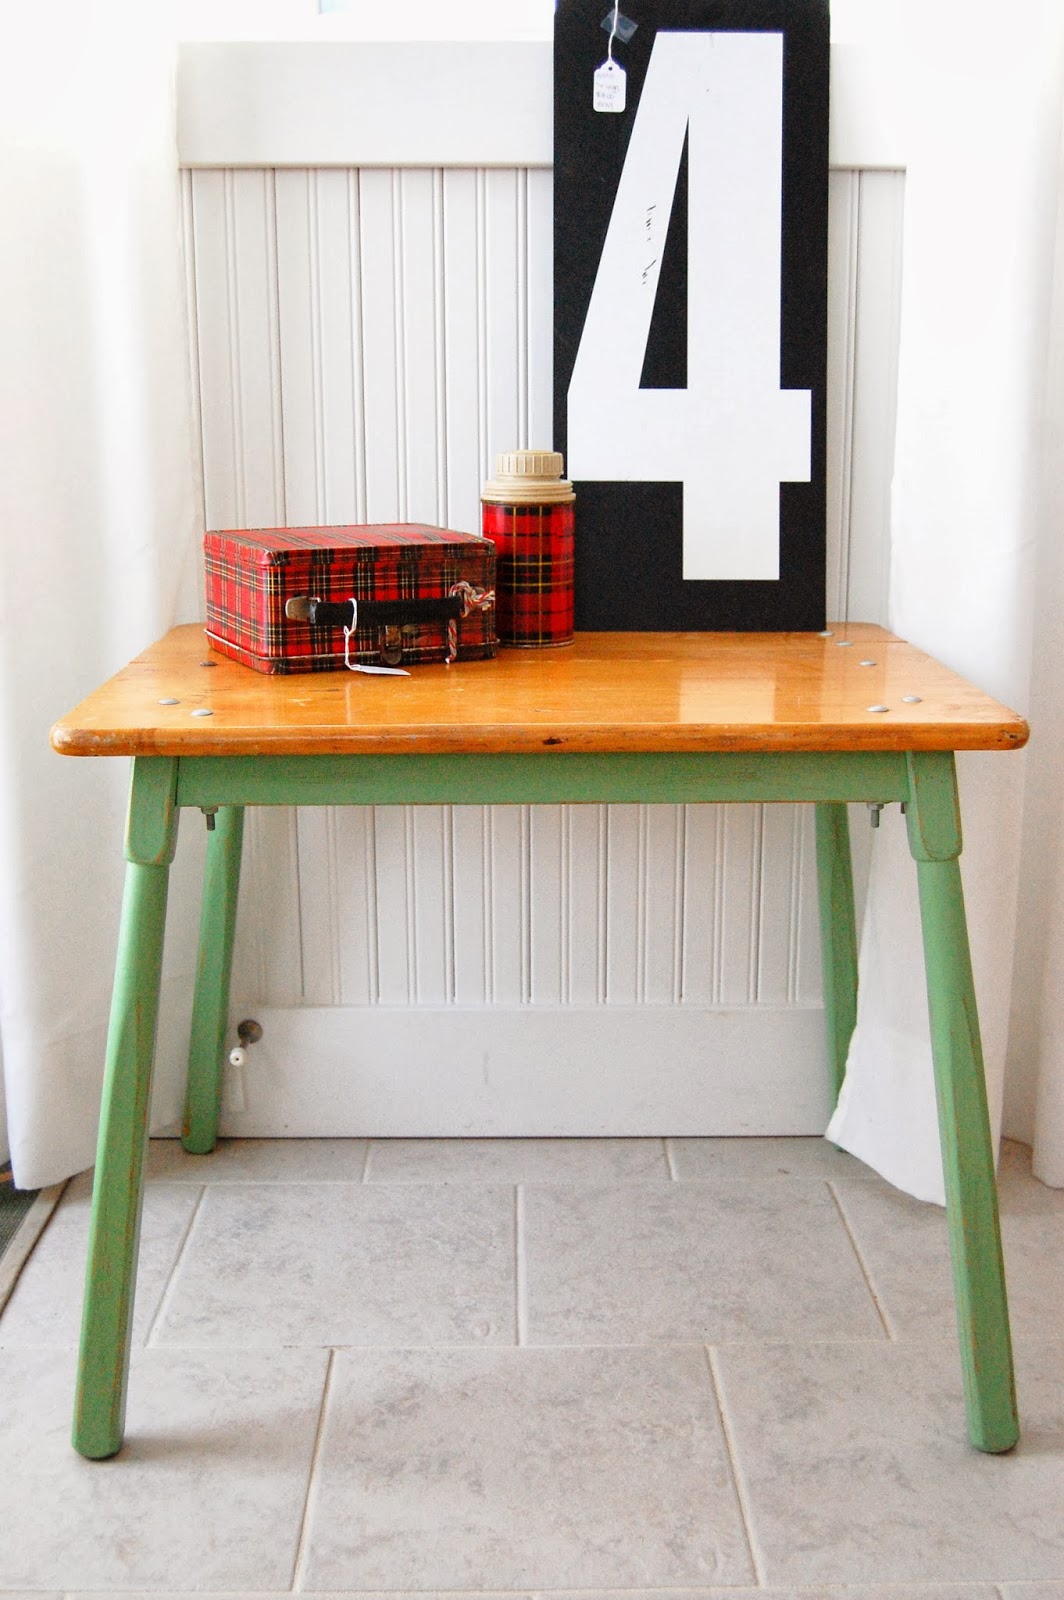
This sweet table sold crazy fast. Loved just adding the pop of color on the legs.

All but white still available in my booth.
Always trying to knock out some chalkboards.


What's with me and this turquoise? There isn't a drop of it in my own home, but I'm so happy you all snatch it up for yours!

Most of these goodies still available.

Fun Fact: My house consists of almost no painted furniture. You'd think I'd be all green, white, and turquoise chippy around here, but I'm not. I'm pretty vintage to the core up in here!


Oh yes, and then I started selling some fun clothing and accessories in February. That definitely kept me hopping and running to the post office. I still have lots of cute stuff available over here! You can also buy from elylaneshoppe on IG. I haven't quite decided if this is something I will continue to do. Comment if you'd love to see another round of pretty stuff up for sale this month!

So I suppose I wasn't a complete failure, but I want to amp it up a bit for this next month. Plus I'll have 3 extra days, so I'm sure that'll make all the difference!


post signature

Wednesday, February 19, 2014

A Shiny New Coat


There’s a running joke between my husband and I that goes something like this: whenever I have an open can of paint and a wet brush, nothing and no one is safe from a flick of my wrist and a shiny new coat! For me, it’s an issue of laziness (I detest cleaning out paint-coated brushes so if I can I do a few things at once, I will!) and also, I like change… a lot. I thrive on it, really. And something as simple and inexpensive as a quart of paint can really get me going!

Enter Exhibit A: my “new” antique Craigslist sofa. From a distance it doesn’t look so bad. After all, it kind of fits in with my overall neutral bedroom palette and that curvy, carved wood… ooo it makes my heart race!


But if you look closer you’ll notice that the original fabric, besides being dingy and dirty, also has a subtle striping of blue and peach. That’s not really what I have in mind for this room so to the drawing board I went.


A custom re-upholstery job would be perfect for this piece because it’s got great bones. However, that could run around $500 which was not in my budget. My next thought was that I could reupholster it myself because there are a lot of thorough tutorials available and I’ve done a similar love seat before. But knowing the time it would take, along with the still too-high price for 10 yards of good upholstery fabric, it didn’t take me long to scratch that off my list as well. Then, I did a quick little search on Pinterest for painted (yes, you read that right) sofas. No joke, it’s been done like 100 times!

Now, I should let you know that this isn’t my first rodeo. I actually painted a sofa recently (for resale purposes) using this paint. And while the results were as I expected, the price for as many cans as I would need would be expensive and they don’t carry a color along the lines of what I wanted for this sofa.


After meticulously taping off the wood frame, I gathered my supplies:
- paint brush (cheap chip brushes are my go-to for this type of project, I don’t feel guilty about throwing them out after a project… no cleaning required!)
- quart of custom tinted off-white, regular ol’ latex paint in a satin finish
- textile medium found at Hobby Lobby
- spray bottle filled with water

There are many good tutorials out there, some specific to the type of fabric and others based on usage of the sofa (family vs. photo prop, etc.) so this is just what I found most useful. Ask me in a few months and I may be changing my tune!


I began by lightly spraying the entire sofa down with a mist of water. This is supposed to help the paint be more supple once dry. I figured this was also a good chance to use one of my handy helpers because I wasn’t letting her help for the next steps. (Meet Lyla.) In retrospect, I didn’t need to spray the entire sofa before beginning because it took quite a while to paint so the water mostly dried before I could get to it. I had to continue spraying each section lightly before painting it to moisten things up a bit.


Then I mixed together 1 part of textile medium to 2 parts of paint and got to work. Starting on the backside, because I figured it could be easily hidden if I completely hated it after one brush stroke, I continued to paint the entire sofa. I knew right away that it would take at least two coats so I let the first dry for 24 hours and then started on the next. For the second coat, there was no reason to spray with water, but I did add a dash of water to my paint mixture to thin it out a bit.  After the second coat it was completely covered except for a couple random spots that needed a bit more coverage. I let it dry 24 more hours and then removed the tape… which to me is the most gratifying part of every paint project!


Because of all the detail around the edges of the upholstery, it was hard to get a real tight tapeline so there were spots like this where the paint leaked through. A little elbow grease and some dish soap and everything came off in a breeze. But it was still an annoying step.


For some reason, I didn’t paint the seat cushions at the same time as the sofa… maybe from fear or perhaps just because it took up a lot of floor space around the house. But I ended up in the dining room for the cushions, which just took two coats of paint on each side so after a few days they were complete as well! You can really tell in the picture above how different the new color versus the old are.


I gave everything a light sanding with a fine sanding sponge and it really helped to break down the paint so that the fabric felt really smooth and more malleable, similar to a stiff leather.


My husband and I both really love the way it looks in the room now. Not going to lie, it’s not somewhere we’d want to curl up with a book and spend our afternoon. But then again, we don’t really have the time for that luxury either! It’s perfect for looking pretty and it’s perfect for sitting down to put on our shoes.


And most importantly, it’s perfect for the impromptu dance party. Which means it’s pretty perfect for us!

Now I just need the perfect piece of art for above it. And I have a colorful DIY in mind!

Enjoy!
Jessica